Tutorial: Beyond FTP and Getting Started with Git
24 May 2014##What is Git?
The fundamental part of Git is the ability to push and pull files from one location to another using what are called remotes. It only pushes and pulls the changes made to a file, rather than the whole file. We’ll only really look at how to start with a project using Git and just learn how to push changes to files.
##What is GitHub?
GitHub is an online service that creates an interface for managing the changes in files, as well as allowing multiple users to discuss changes before they are made. It is important to remember though that Git is the tool to transfer file changes, whereas GitHub is just a service allowing people to share and discuss files. We’ll be using GitHub to get started with Git and we’ll go into more detail throughout the tutorial.
##Let’s Get Started
In this tutorial, all we’re going to do is put the code for a very basic website and put it on GitHub. This will involve learning the following:
- A look at the tools I use
- How to install Git
- How to get started on GitHub
- Creating a Repository
- Creating SSH keys
- Creating the website code
- Putting the website code on GitHub
###1. A Look at the Tools I Use
There’s a few apps that I’ve grown to absolutely love. They are iTerm 2 with Oh My Zsh and the Solarized theme; as well as Atom, a text editor that fits in really nicely with Git.
All you need for this tutorial is a terminal and a text editor, but I couldn’t recommend enough taking the time to install the above tools – just read the amount of work that has gone into Solarized to make usability awesome. I’ll be writing a blog post soon about how to install these.
###2. How to Install Git
The first step is to head over to http://git-scm.com/downloads. Download Git for your operating system and following the installation instructions.
To check that Git has installed successfully, open the application ‘Terminal’. Or if you’ve been particularly awesome and installed iTerm2, open that instead. If this is your first time in the terminal, don’t panic! Mac OS X is built on Unix and is very similar to Linux for what we need. As a result, the Mac operating system is really just a bunch of directories and files – all you have to do is make sure you don’t delete the important ones!
When you open your terminal program, in this case iTerm 2, you’ll see a screen like this:
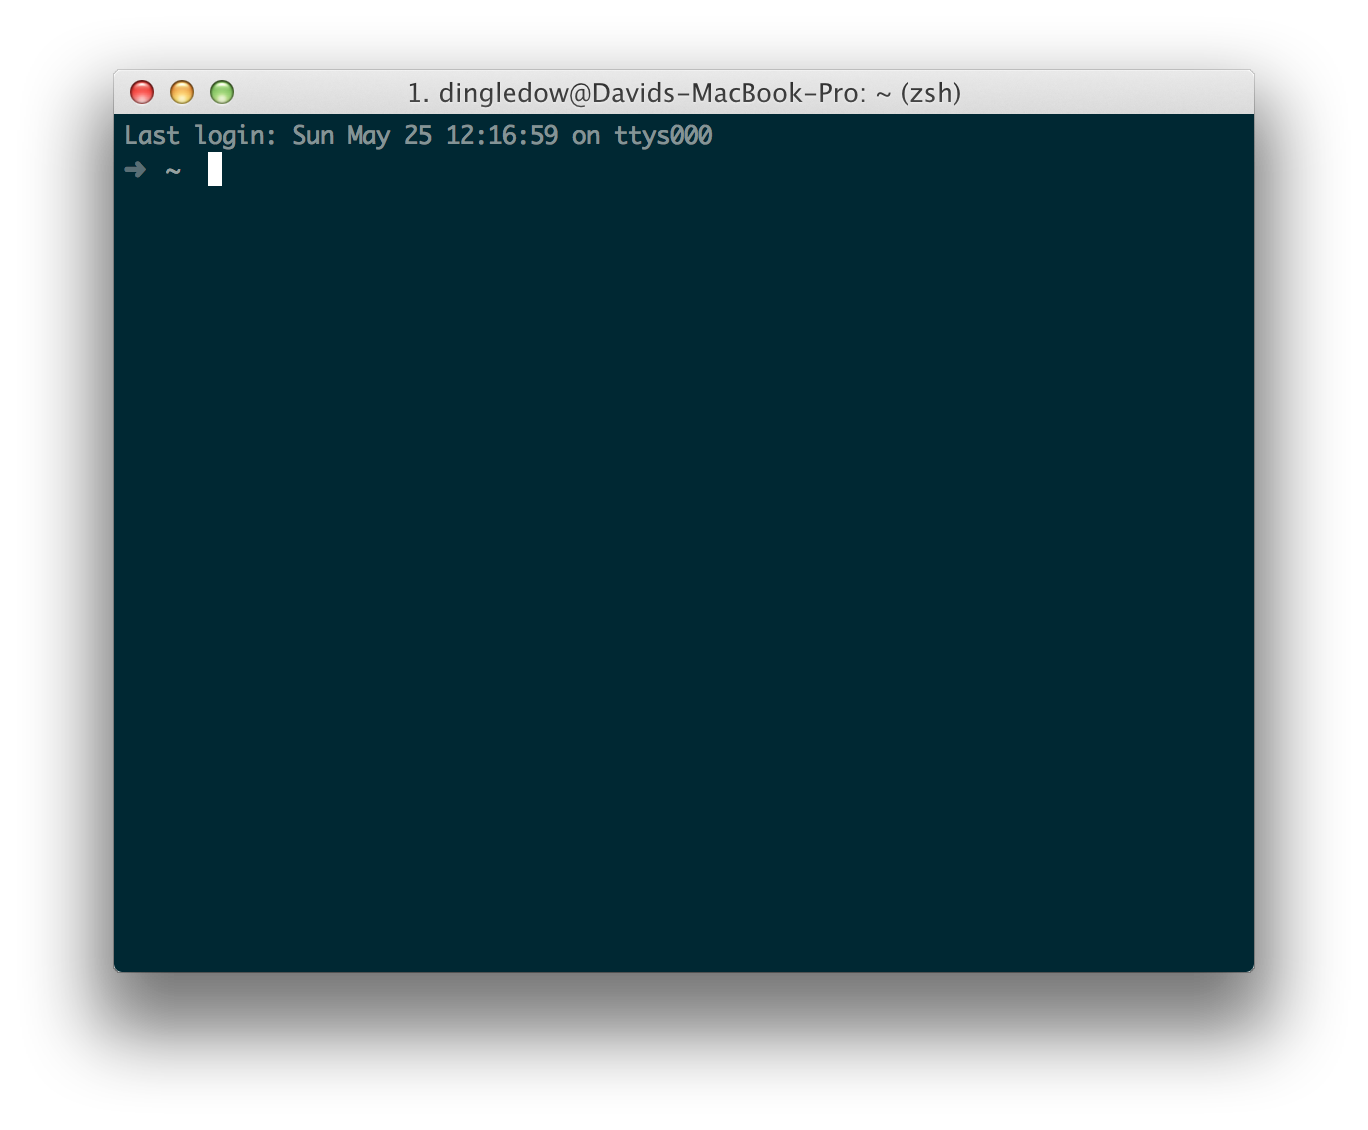
Just to give a bit of context, the line that our cursor is at shows what directory we’re in. The ~ is the root directory for the user of this computer and assuming it isn’t a shared machine, it’ll be your root directory. Just for fun, if you type in ls, you’ll see all the folders in your Mac’s Home directory.
Anyways, back to checking whether Git has installed successfully or not. The next step is to type in
git --version
Press Enter. On the line below, the version of Git that you installed will be displayed. You can see that I’m a little bit behind the latest version release:

If you got this far, you’ve successfully installed Git!
###3. How to get started in GitHub
Now we’ve got Git installed, we can sign up for an account on GitHub. There’s a great big call to action in the header, so just follow the necessary steps to setup an account.
Up until now, all we’ve really done is install a few things and setup an account with GitHub. In the next few steps, we’ll put together a web page and share the code to GitHub.
###4. Creating a Repository
Say we wanted to create a new website, we first need to create a Repository (or Repo) on GitHub. I’m going to call this website the most generic name for a tutorial: “Hello World”.
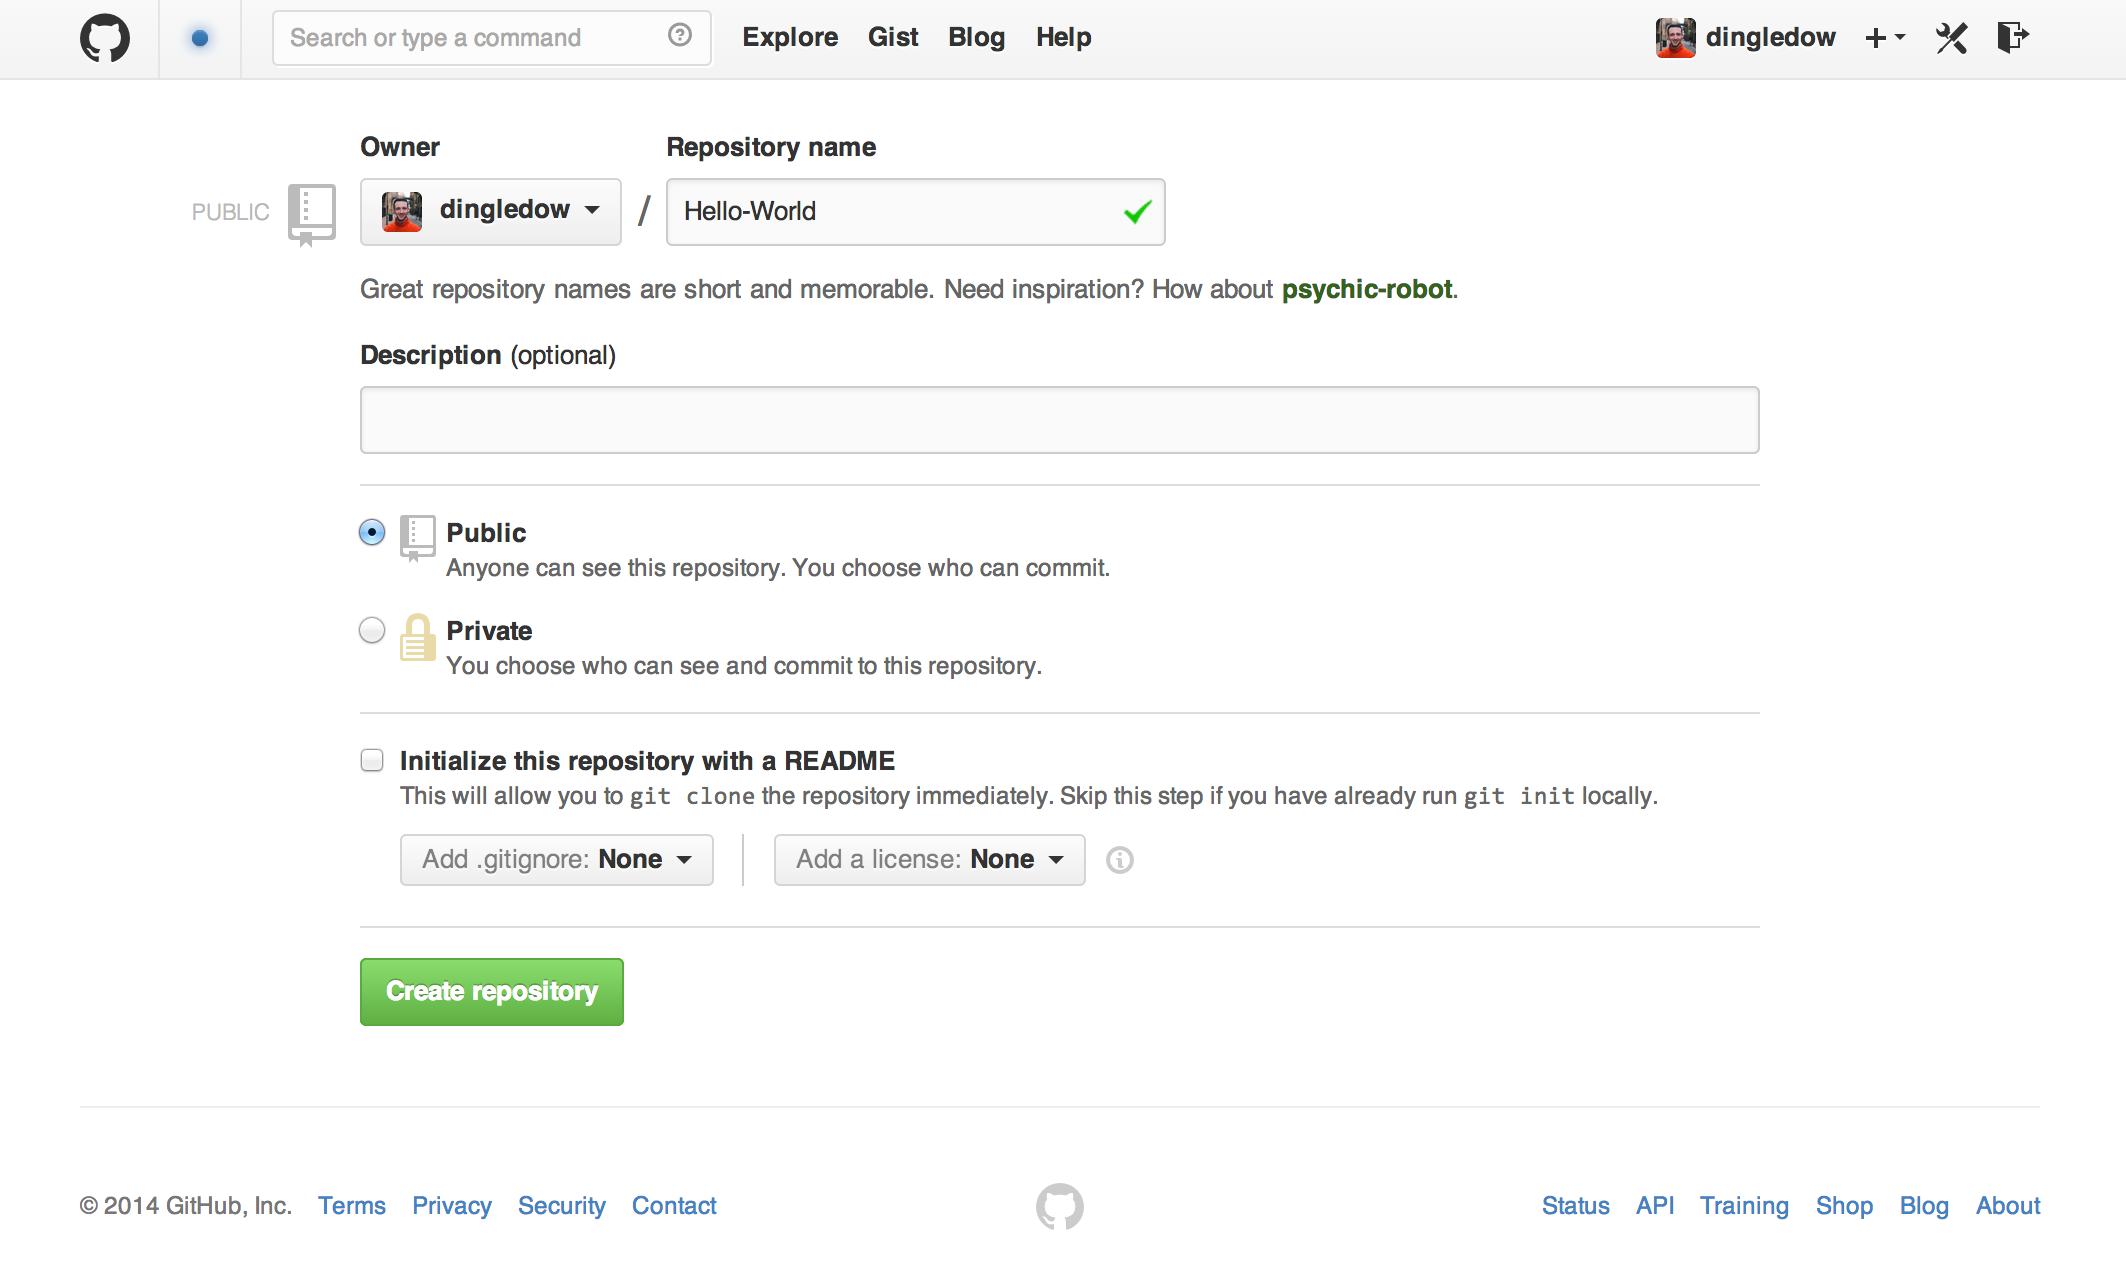
As shown above, give the repo a name and even a description if you want. Let’s make it public, so we don’t have to pay to play around with it. Also, let’s leave all the other options as they are for the time being.
Click ‘Create repository’.
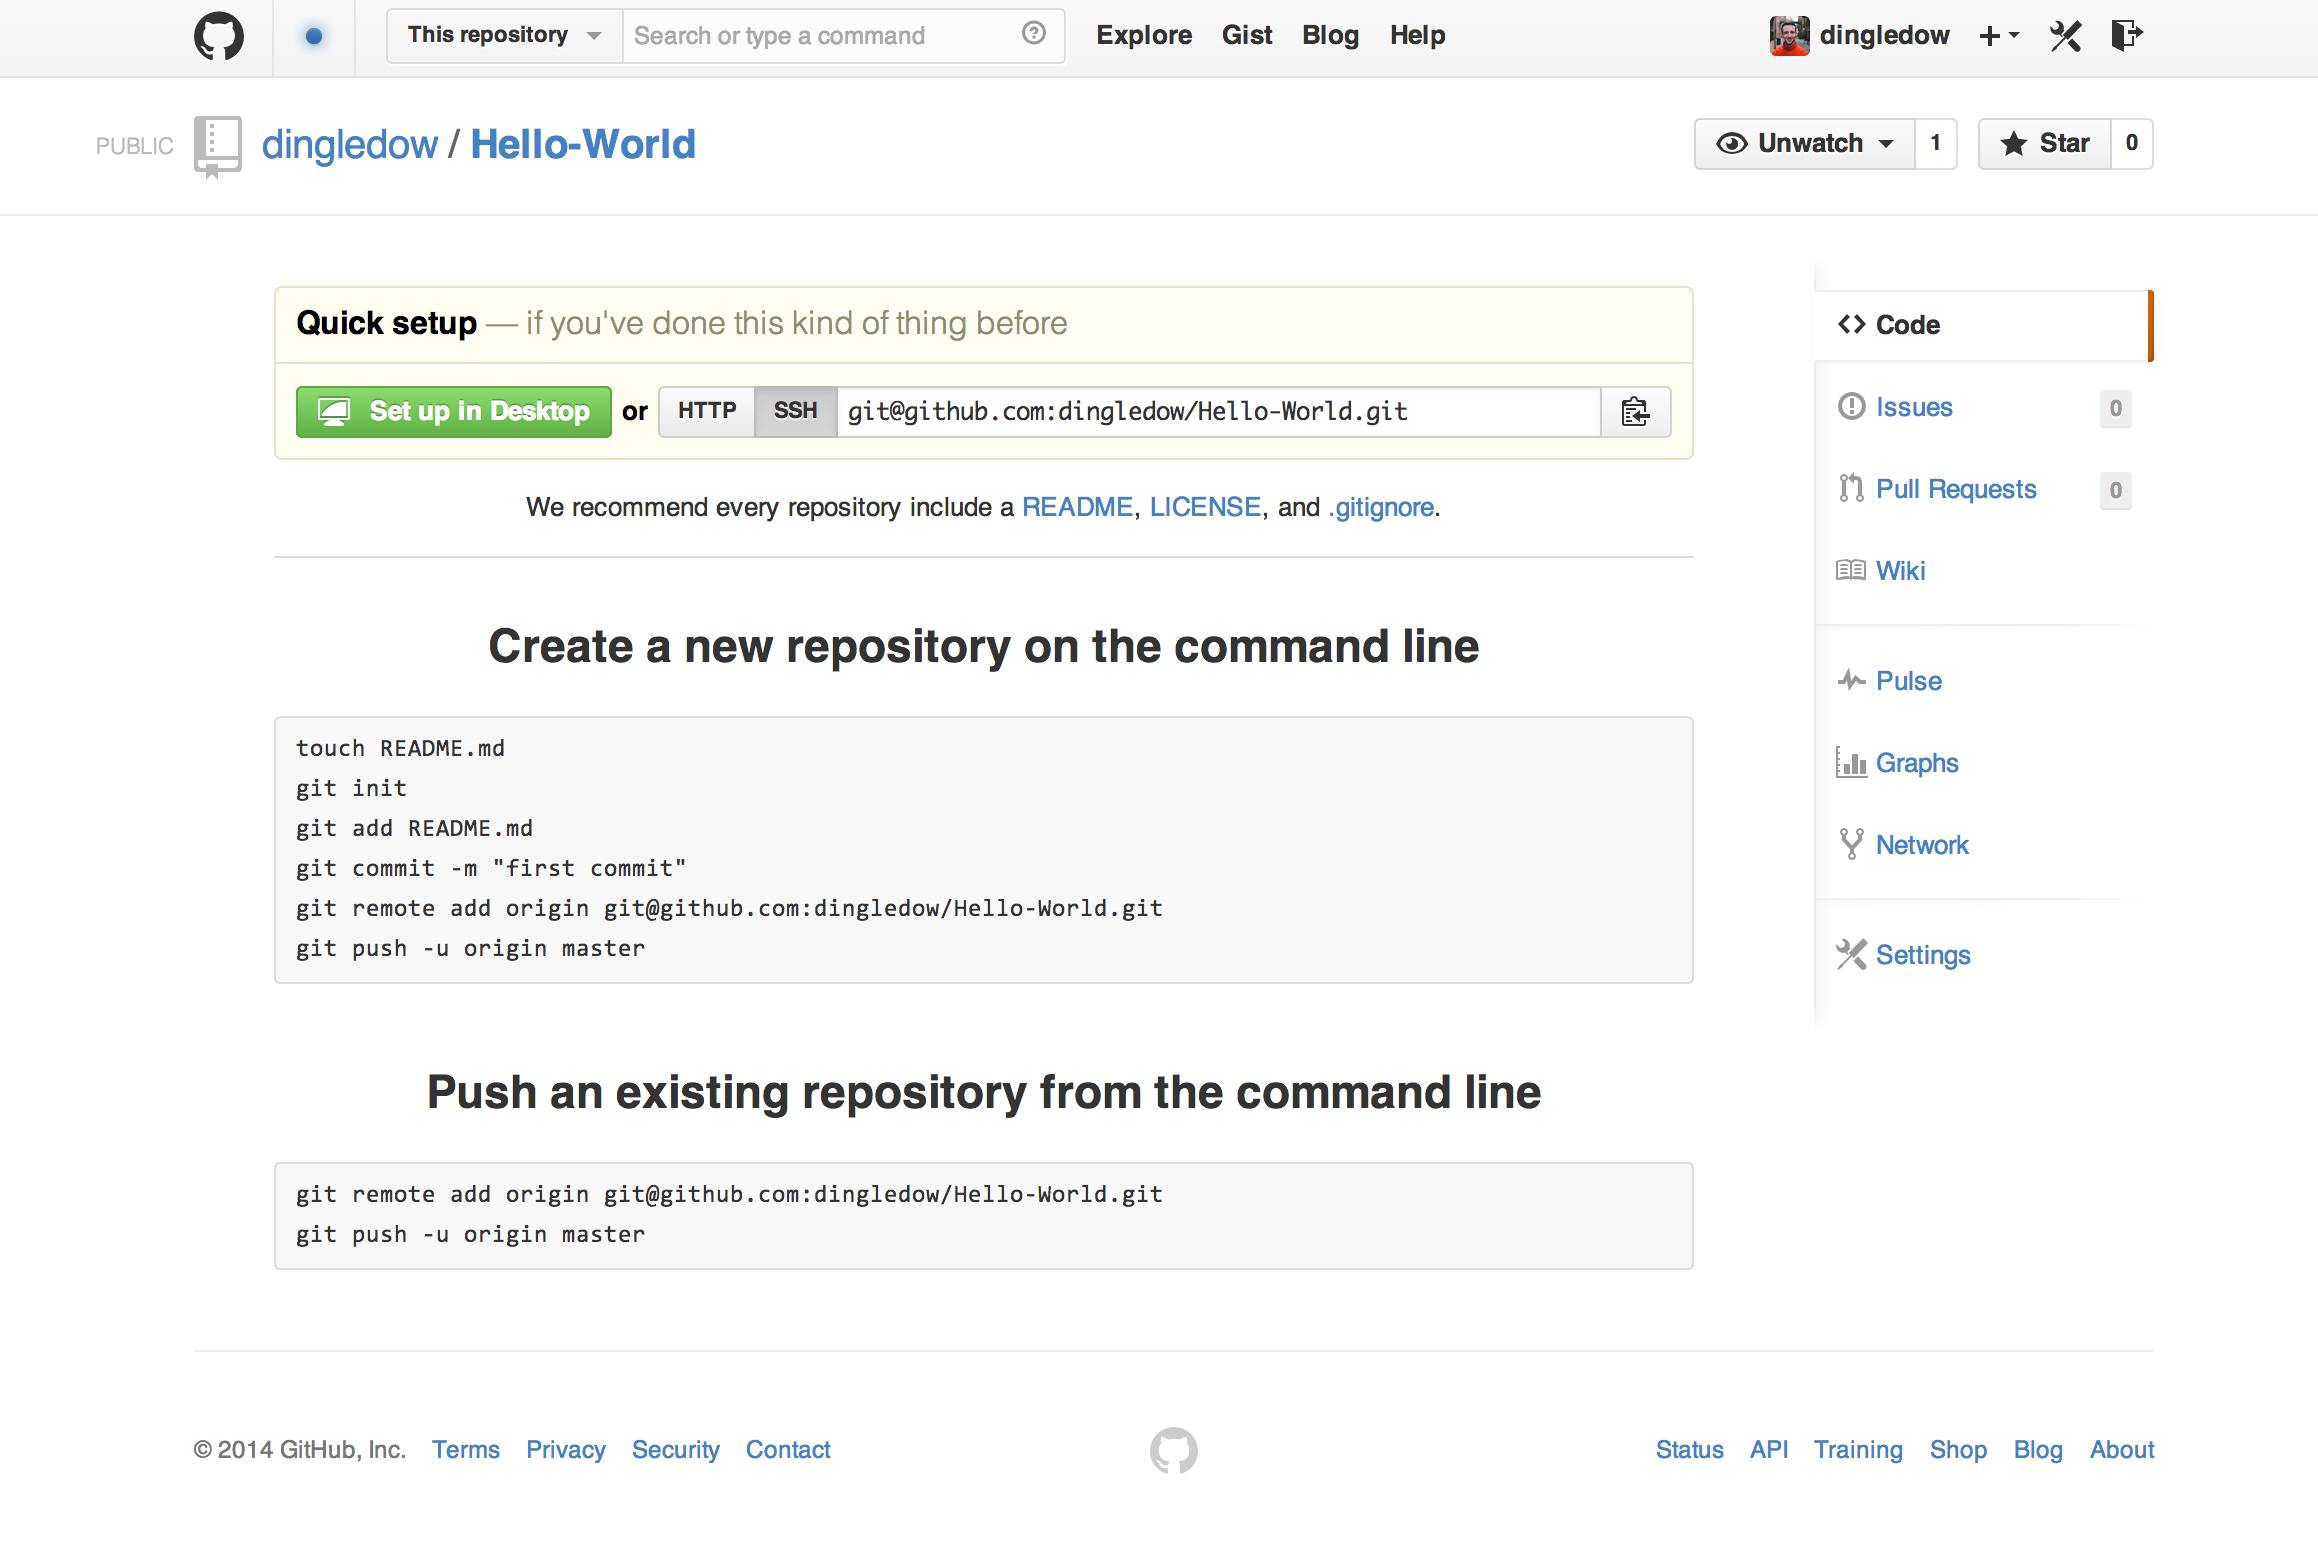
So we’ve created a repo. This will be where we store all the code for the Hello World website.
You can see it’s empty at the moment, so next, we need to setup a connection to GitHub form our computer so we can push up files to this repo. We’ll do this by creating SSH keys.
###5. Creating SSH Keys
If you’ve already created SSH keys and put them in your GitHub settings, feel free to skip this section.
Assuming this is your very first repo and you’ve never used GitHub before, we need to create a pair of SSH keys for the machine you are using. This only needs to be done once. After that, you can make changes to any of the repos you own on GitHub from this machine.
When you create a pair of SSH keys, it will generate a public and a private key. The public key will be kept in your GitHub settings and the private key will be kept locally on your computer. It is vitally important that you do not share your private key with anyone, since it can used to create all sorts of madness.
####a) Check for SSH Keys
Open the terminal again and run the following command:
cd ~/.ssh
The cd command means ‘change directory’ to the path stated after it. In this case, it will take us to the .ssh directory.
Then type in:
ls
This will list all of the keys that you have on your machine.
If you have either id_rsa.pub or id_dsa.pub in the list, skip to step ‘c)’, otherwise, let’s generate a new SSH key pair.
####b) Generate a New SSH Key Pair
To generate a new SSH key pair, enter this command with your email in place:
ssh-keygen -t rsa -C "your_email@example.com"
The default settings are preferred, so when you’re asked to enter a file in which to save the key, just press enter to continue.
You will then be asked to create a passphrase:
Enter passphrase (empty for no passphrase): [Type a passphrase]
Enter same passphrase again: [Type passphrase again]
After that, you will see something like this:
Your identification has been saved in /Users/you/.ssh/id_rsa.
Your public key has been saved in /Users/you/.ssh/id_rsa.pub.
The key fingerprint is:
01:0f:f4:3b:ca:85:d6:17:a1:7d:f0:68:9d:f0:a2:db your_email@example.com
You then want to run this next command to add the key to your ssh-agent. Basically, this means that you want to add the key that you just generated to your machine so it can be used.
ssh-add ~/.ssh/id_rsa
####c) Add Your Public SSH Key to GitHub
To copy the public key of the SSH Key Pair that you just generated, use this command:
pbcopy < ~/.ssh/id_rsa.pub
In your GitHub settings, go to ‘SSH Keys’ and create a new key. You can call it anything you like, but I would advise making it something that is easy to reference.
####d) Test It Works!
To test that it works, enter this command in the terminal:
ssh -T git@github.com
If it says that the authenticity of github.com can’t be established, just say yes anyways. You should then see something like this:
Hi dingledow! You've successfully authenticated, but GitHub does not provide shell access.
####In Summary…
The best way to think of SSH keys is using the metaphor of a key and a lock, where id_rsa.pub is your public lock and id_rsa is your private key. You can give your lock to any number of services – GitHub in this case – because it’s public, but only you have the key to unlock it.
###6. Creating the website
The first thing to do at this stage is decide where we’re going to keep our site on our local machine. The sensible place for this would be to put our site in our “Sites” directory.
Open a new terminal window and run the command:
cd Sites/
The easiest way I find to set up the local version of the repo is to clone it. To do this, enter the command below, but remember to replace dingledow with your GitHub username. Also, check that the repo name is correct:
git@github.com:dingledow/Hello-World.git
It will say that you’ve cloned an empty repository, but you’ll still find a directory called “Hello-World” in your Sites directory.